Manual setup
Note
If you used the template project from Github, you can skip this page.
Creating a Unity Project
It is recommended to start with a new project. The best option is to use the 3D (URP) starting template provided by Unity.

Installing AR Placement Kit
In order for the package to work, there a few important requirements:
- Your project needs to use URP (Universal Render Pipeline)
- No version of AR Foundation below 5.0 is installed (When no version is installed, the package will do it)
- You are using Unity 2021.2 or higher
When first installing the package from the package manager it might warn you that the new input system is used. Press YES to restart the editor.

After the editor has restarted, you can start using the package. If at this point there are any error related to the package, make sure to check it out the troubleshooting section. Again, a new project is the best way to make sure no conflicts with other packages are the problem.
Setting up AR Foundation
If you have started with a new project, you need to set up AR Foundation. AR Foundation will automatically be installed by the Placement Kit as it is an dependecy. But it is best to double check in the package manager that it is installed.

Follow the Install AR Foundation and Scene setup instructions provided in the ARFoundation Docs. For package installation in Unity 2021, see [AR Foundation (Unity 2021)].
Note
Make sure both ARFoundation and ARKit have the same version installed.
Setup URP with AR Foundation
Note
Skipping this step will result in a glitched image
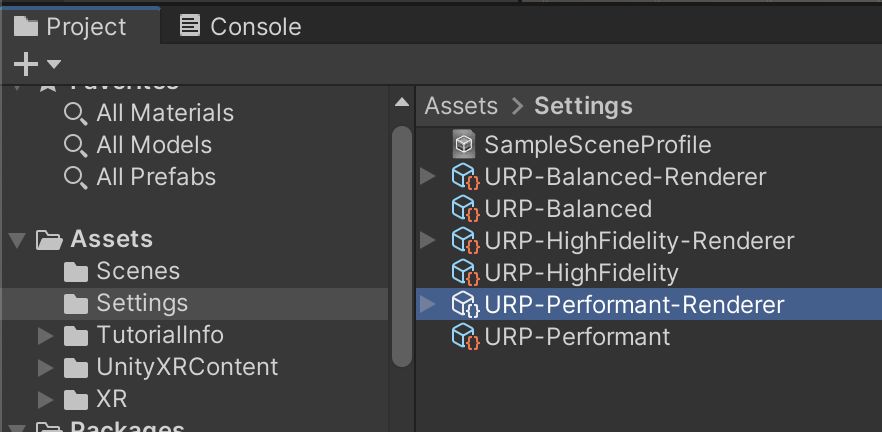
AR Foundation does not work right away with URP. You must add an "AR Background Renderer Feature" to the renderer. Select Assets -> Settings -> URP-Performant-Renderer.asset.
 { align=right, width=500px **
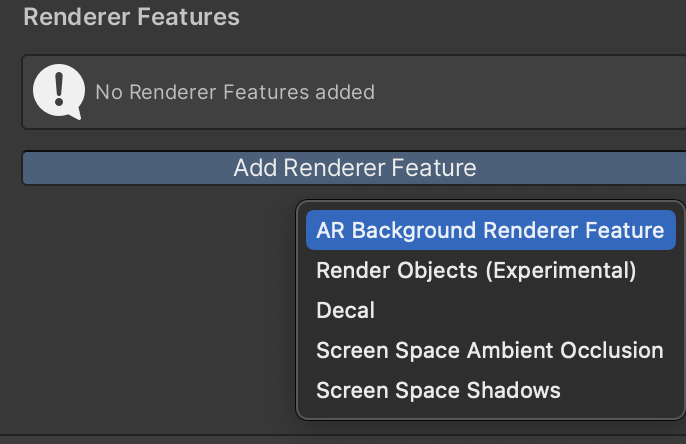
In the inspector click Add Renderer Feature and select AR Background Renderer Feature.
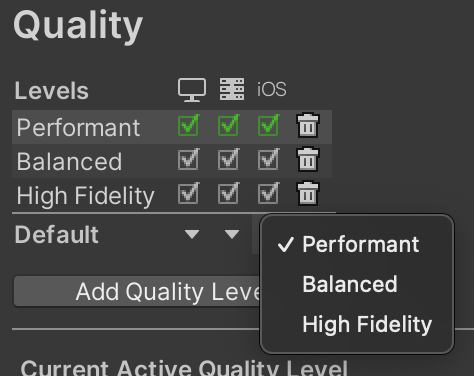
Then, to make sure that the edited Renderer is used, go to Edit -> Project Settings -> Quality and set the default quality to "Performant" for all profiles and set "Performant" as the active renderer by clicking the name left of the checkboxes.
Alternatively, follow these steps to set it up by creating the renderer from scratch.
Setting up iOS (AR Kit)
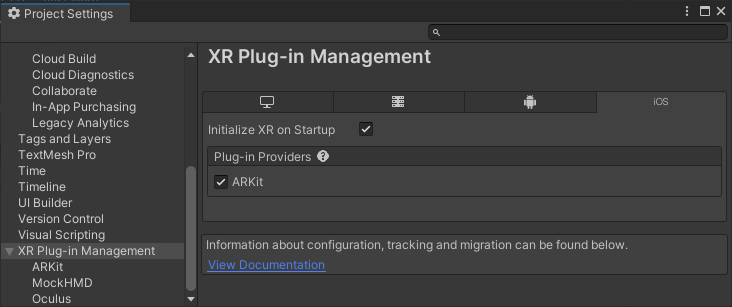
First, enable ARKit in Project Settings -> XR Plugin-Management -> iOS -> ARKit.
Then, require support for it in iOS builds.
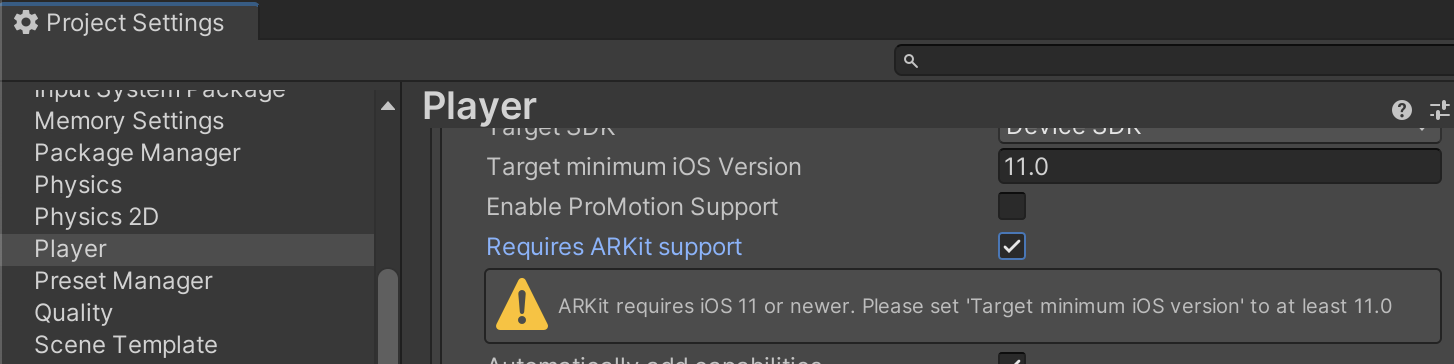
Detailed instructions in the ARKit Docs.
If you have any trouble setting up ARKit, meaning you can't build or get a black screen, take a look at the Unity Manual for ARCore setup.
Additionally, reduce code stripping for iOS by setting _Project Settings -> Player -> iOS -> Managed Stripping Level to "Minimal". For more info see Unity Manual - Code Stripping.

Setting up Android (AR Core)
Follow the instructions from the ARCore Docs.
If you have any trouble setting up ARCore, meaning you can't build or get a black screen, take a look at the Unity Manual for ARCore setup.
Optional: For testing inside the unity editor
- Add the XR Environment window from Window -> AR Foundation -> XR
- inside the XR Environment, install the Sample Environments from the drop-down
Validation
It's recommended to validate the configuration. This can prevent running into errors later on.
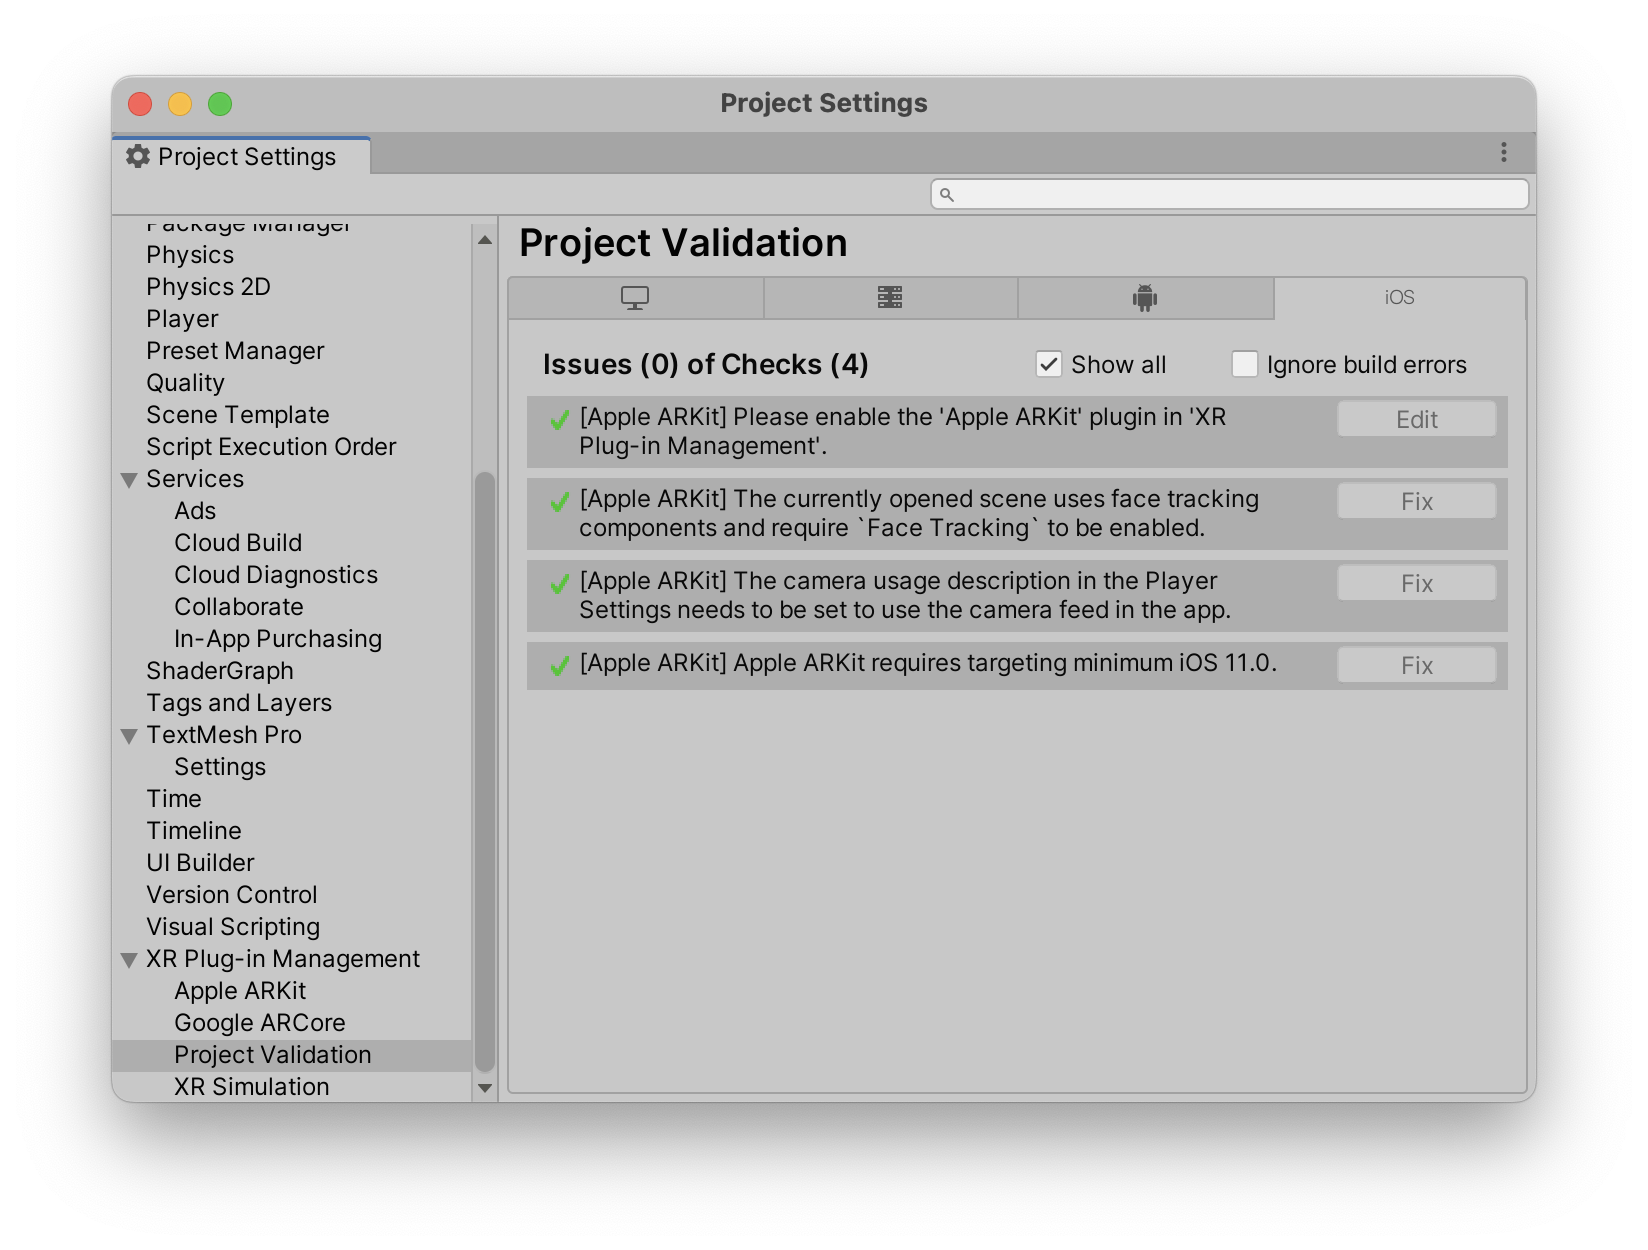
You can check Android and iOS. Make sure everything is green before you proceed.
Setting up Tags and Layers
For the placement guide to function, appropriate Tags and Layers must be set in the Project Settings. The easiest way is to import the preset from the package. To do this, navigate to Project Settings -> Tags and Layers, then click on the preset icon in the top left of the window and choose "Tags&Layers PlacementKit".
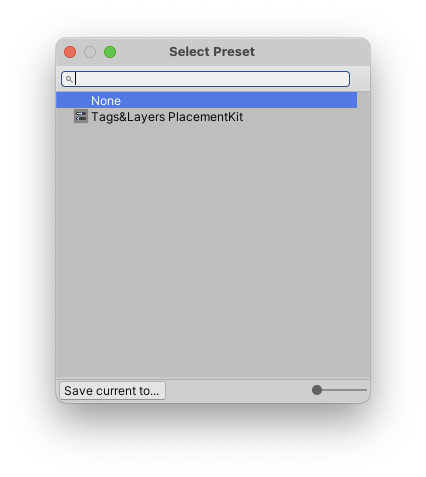
Note
WARNING! This will replace any existing tags or layers.
Alternatively, you can manually add the layers to your Project. The order and index does not matter.
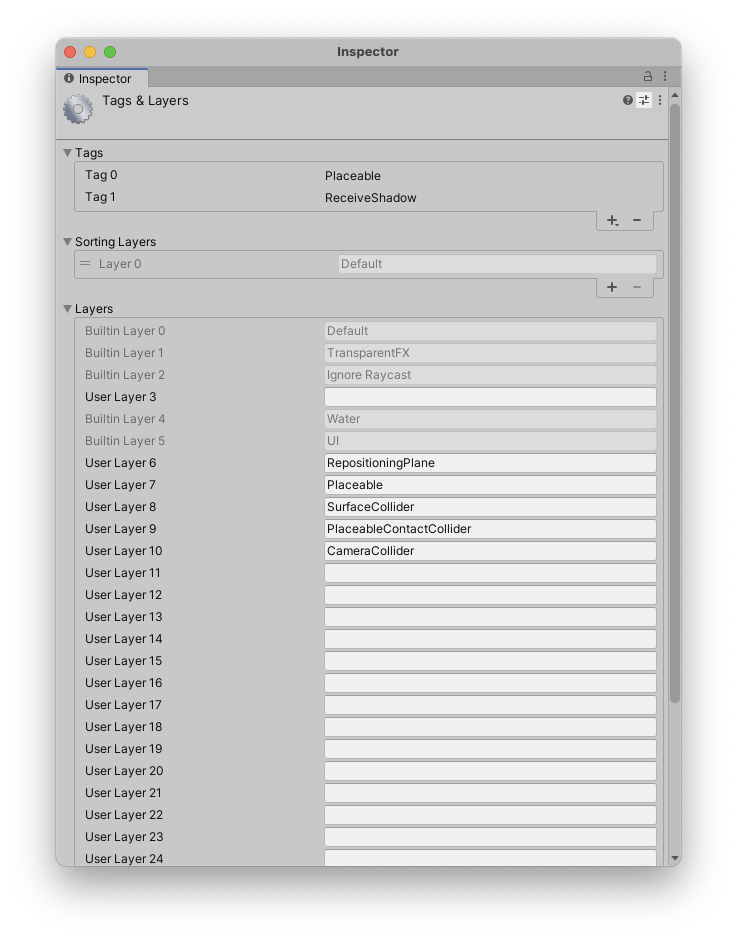
Tags
- Placeable
- ReceiveShadows
Layers
- RepositioningPlane
- Placeable
- SurfaceCollider
- PlaceableContactCollider
- CameraCollider